


This is another HOW-TO post from the zx14ninja.com forum. It was made by 06BlueZX14 on 5/31/2007.
This is a repost of the "meat" of my post from some time back.....but w/o the replies.
Hope some newer riders will find it helpful.
-----------------------------------------------------------------------------------
You got 3 things to turn on each side of the forks as well as an extra adj if you like by moving the forks. You got 2 things to turn on the rear and a spring - if you want to mess with it. I am about 190lbs w/o gear. I wear full leathers and helmet at all times and sometimes a back protector. I will tell you the stock settings, the Sport Rider settings and my settings. I found it not quiet right for me on the streets here - funny since it is the same streets I ride. So set it to stock and ride......if you don't like it then go for the magazine settings and then if still not feeling good - try my settings.
TOOLS:
You can use the one from the tool kit, but I suggest a longer flat screwdriver instead of the stock 2 piece thing.
14mm wrench,
Allen wrench to loosen lower fairing if you like,
Some tool to measure with if you need to make the fork position adjustment.....ruler, caliper....etc.
Jack or stand - something to get the front wheel up.
10mm 1/4 drive socket and rachet to looosen lower fork clamp if needed.
Flashlight
FRONT:
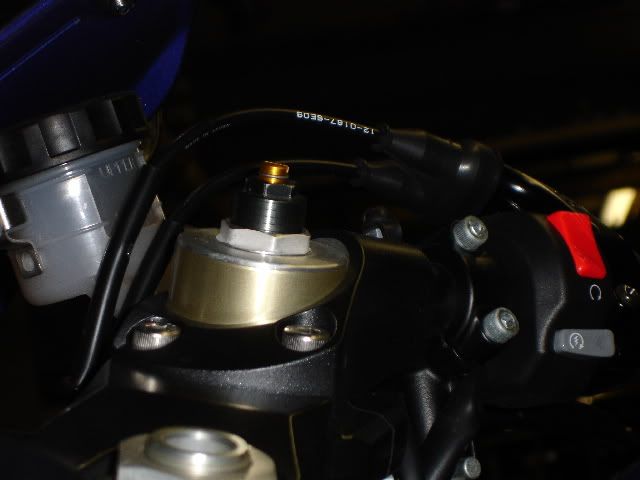
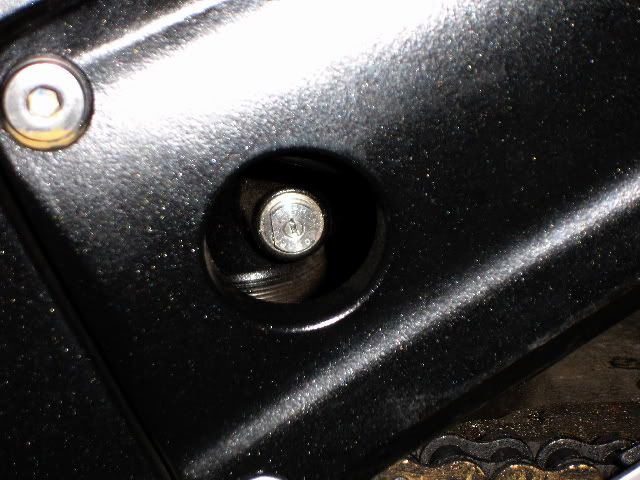
1. Rebound damping:
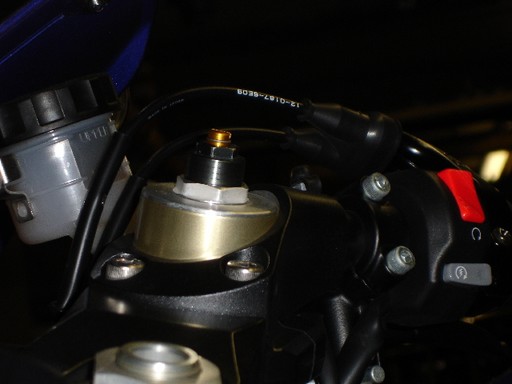

Why 2 pics? So you can see the little clip on the adjuster (gold colored) - up and down. The adjuster will travel up when you ride and you will probably push it back in during your adjustments........it is fine that it moves - just wanted to mention before the questions come about it.
This adjuster clicks.....has a set number of positions. When you get to the end of the travel up or down it gets tight......turn it all the way out and all the way in to find all the clicks and to feel the upper and lower limit. DO NOT FORCE IT.....up or down. You will know when you find the top and bottom click. Just go to where it binds A LITTLE and then move forward or back to the closest click. We will set it from the bottom going out. So turn it all the way IN and then set it to the lower click. From there come out - 5, 4 or 3 (Stock, magazine and mine - the other adjustments will follow this same pattern)
2. Preload:
Same pic - it is the black part that the rebound adjuster goes through. This does not click, but is smooth. You will see lines on the side. You can turn it all the way in and out to see the range, but no point in doing it for this and it will only tend to remove the nice black coating. You can put a small piece of electrical tape in the wrench to prevent marring. Turn it to 4-9mm out (stock setting and I don't remember how many lines it would be) that is .2 - .7 inches for the non-metric types. 7 lines for the magazine setting and 5 lines for my setting.
3. Compression damping:

This one clicks.....set it like the one up top to 10 clicks out (both stock and magazine say 10) and 7 for mine.
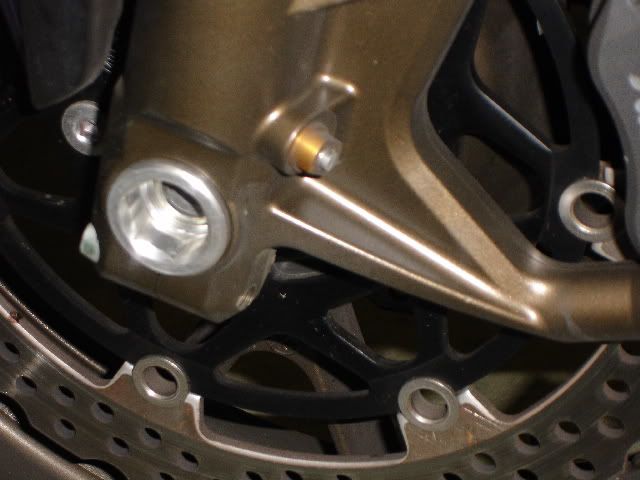
That is it for the front unless you want to slide the forks up. Sliding the forks up in the clamps will lower the front for a little better turn-in if you love twisties, bring the front down to a little more "sporty" riding position.
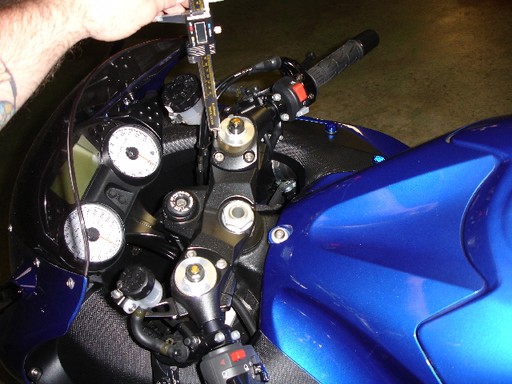
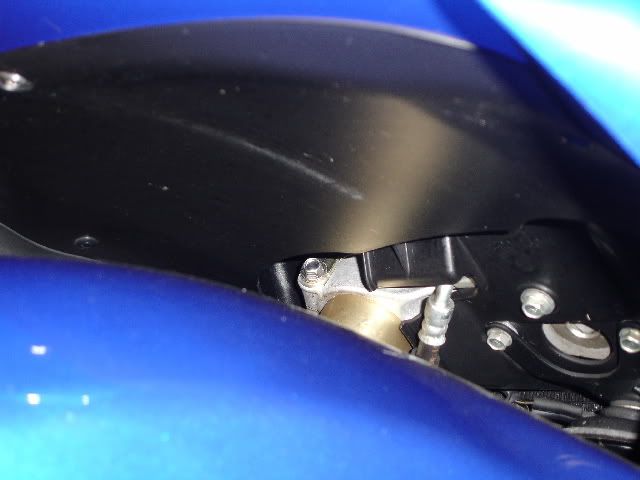
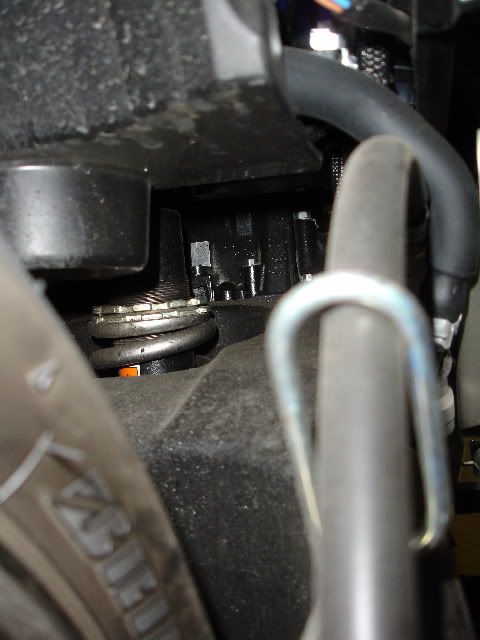
I recommend you start with no more than half an inch (I am using .75") - look at the pic to see measuring points. Not sure where the stock position is for sure because it may differ from bike to bike depending on the installer. So the .5 inch is from the top of the fork to the lowest point where the handles bolt on. This is when you need the front tire up. If you loosen the bolts with weight on the front then the fork springs will push the forks up and be higher than you want and good luck trying to push it all back together. Get the weight off the front and then go for it. I reccomend you remove the fender to get to the lower clamp bolts.........shown here:

UPDATE.............NO MORE THAN .5 INCH - REDUCED CLEARANCE DANGER.
Be very careful when removing the plastic brake line holders.
BE SURE THAT BOTH FORKS HAVE THE SAME ADJUSTMENTS. Take your time and be sure or it will not work as well and may show some uneven tire wear - which also means uneven traction.
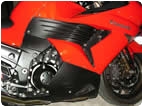
REAR:
1. Rebound damping:
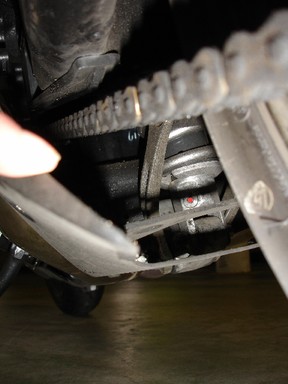
Hard to see so I put a <span style="color: red">red</span> dot to show where. This one does not click, but is smooth. Turn it all the way in (DO NOT BOTTOM IT HARD) and come back out 1.5 for stock, 1 for the magazine setting and I use 1 as well.....maybe just a bit more than 1.
2. Compression damping:

This one too has no clicks. Go in and then out 2.25 stock, 2.50 for magazine - softer than stock for some reason.....and I use only half a turn....pretty stiff if the roads are really bumpy so don't go that far in to start with.
3. Preload:

You will not want to mess with this one. If you feel it is not working good enough then you can adjust by turning the adjusters to change it or go to the dealer and let them do it. If it comes to that then maybe let them change it to a higher quality piece and then adjust it. There is no stock setting in the book and the magazine says 22mm from the top of the spring to the top of the threads. I sorta measured it and it looks like they are saying leave it where it is.......which I did. It should show about 9 threads above the adjuster.
THAT'S IT!
* Last updated by: bgordon on 12/14/2010 @ 10:04 AM *

 Look whozzzzzzzzz back from the dead, Donny!....... Clubeer Bub Beers!