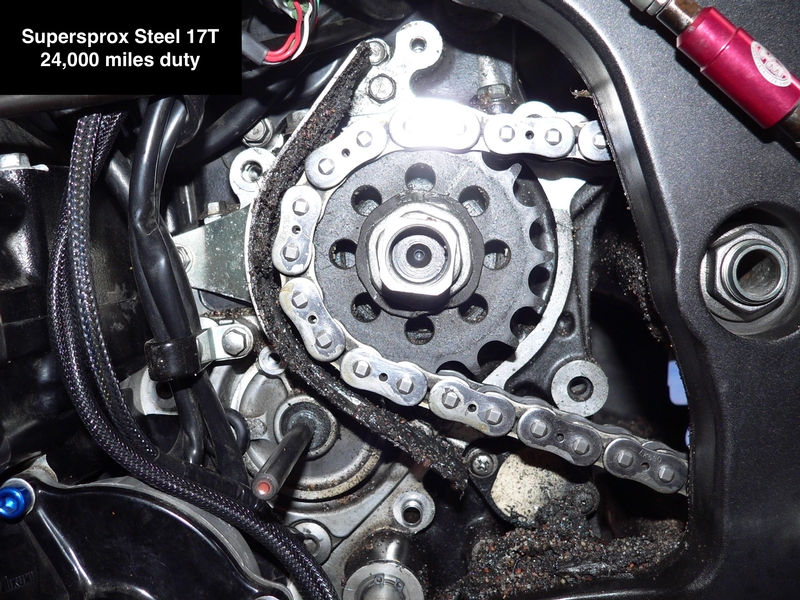
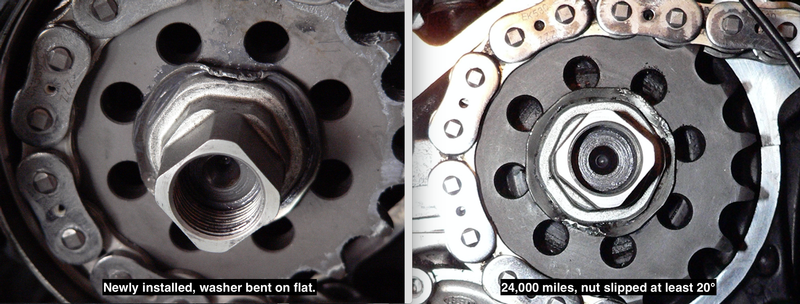
I noticed one thing on your 'before' pic.May be allowing the nut to turn.Your 'flat' with the washer is not creased the full length of the nut flange.The outermost edges are not connecting to the nut.That washer edge should be completely contacting the nut.Not just in the center there.
I just noticed that too and I think that might have been the main reason the nut turned after it came loose. I probably didn't want to do too thorough of a job flattening it against the nut. It is a bit of work to get that thing pushed back down again when you need to change the sprocket. I guess I better worry more about getting it on properly and worry about getting it off when the time comes.
That's one reason I use the extension to bend it for complete mating.I use a longer extension cause there's little room to get a screwdriver to sit right for the folding process.The extension doesn't gouge the washer like your pic shows.Plus I fold at least two edges on that nut.Opposite sides.
Yes, in order to get any tool in there, it has to be a long handled tool inserted from under the swingarm. I will be folding opposite sides this time. The washer's fit to the splines has a little slop in it. If you only fold one side, the washer might slide a millimeter away from the nut or turn a few degrees. If you fold two opposite sides, that locks it in place better.
I also use an electric power wrench.I don't torque it like the book mentions.The gun is set to 125ft/lbs.I run it in then allow the drive to stop holding the gun lightly in my hands.Then I give it one or two additional bursts to set it 'tighter'.But I don't hold it on there cranking it.Never had one loosen OR refuse to come off.
The book says 92.2 ft lb. I gave it that with my cheap torque wrench. Then I checked it with a digital torque adapter set to 92.2 ft lb and the nut didn't move. It's at least 92.2 and if its over-torqued, it's not by much. If there are bearings inside the case, they might be able to get side loaded from too much torque. I'd think they would put a spacer on the bearings to prevent that. I might have under-torqued it last time since people have reported this thing can be difficult to remove. I also used pure grease last time. It should be an oil/molybdenum solution of 10:1 by weight.
Hitting it as you did with the screwdriver to fold it up has made that edge weaker(damage to the washer material).You don't want to deform that edge.Once she's folded that becomes a weak spot if trying to reuse.I always use a new one.
It does get dinged up flattening it with a screwdriver. The edge where the metal folds is what takes the most stress and that's why I'm hesitant to hammer a chisel under there much. Bending 45 degrees might fatigue the metal a bit. Bending it flat again definitely does. I wouldn't bend it in the same place twice. Last time, I used a different portion to bend up. That might have been another problem, the portion I bent up was high in the center and low out at the corners of the nut. As you observed, I only bent the washer tight to the nut at the center of the flat and left those low corners unseated. A lockwasher is cheap. Just use a new one and I think it's a lot better to bend a portion that is parallel to the flat. You know how the washer has flats like the nut has flats? Choose a portion for bending that is parallel to the nut flat.
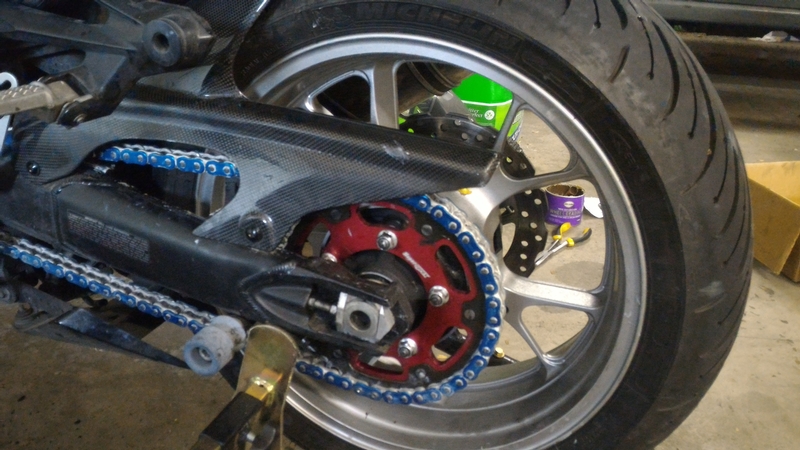
My 45T rear sprocket must produce more backtorque too and that would tend to loosen the sprocket nut.
That about covers it:
45T rear sprocket exerts higher backtorque on the nut.
Pure molybdenum is too slippery and lubricates potential threading or unthreading of the nut.
I might have under-torqued the nut.
The washer was not bent flat across the whole surface of the nut flat.
The washer was bent at a point where its edge was not parallel to the nut flat.
The washer was reused and was not able to crush.
Those are all my possible reasons that nut came loose.
* Last updated by: Rook on 6/13/2020 @ 3:35 PM *
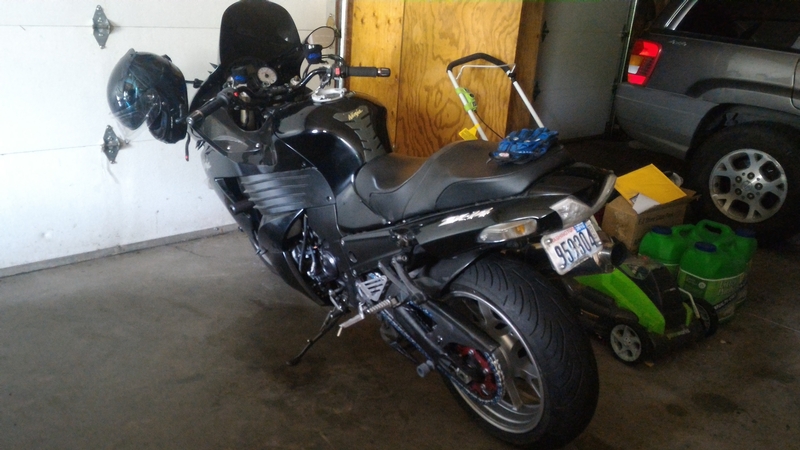
'08 MIDNIGHT SAPPHIRE BLUE Now Deceased