


Heat Shield Wings Removal
The heat shield wings are located above and behind the radiator. The wings extend out under the ram air tube on either side of the bike. The purpose of the heat shield is undoubtedly to keep the rider comfortable but it may also serve to direct radiator heat away from engine, airbox and ram air tubes.
The heat shields may be removed to reduce weight and remove clutter from the engine compartment.
Tools:
ratchet
8mm socket
1 1/2” extension
straight slot screwdriver
3” extension
Remove the foremans, ram air covers, tank cover, lowers and side fairings (see FAIRINGS REMOVAL).
1. With an 8mm socket and 1 1/2” extension, remove the right side fairing bracket with foam pad.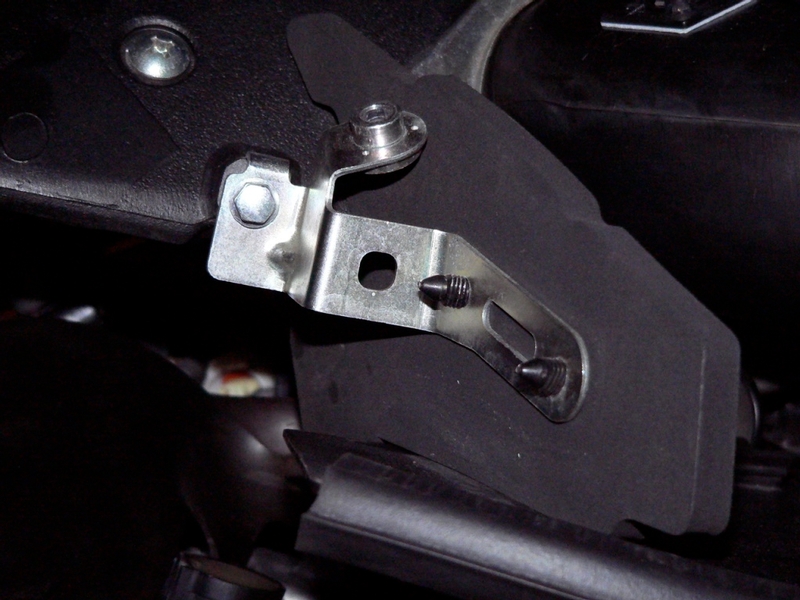
Heat Shield Wing (service manual p 5-11)
[A] retainer ring, (B) heat shield wing, [C] engine compartment wall, [D] bracket, [E] quick rivet, [F] bolt
2. Remove the plastic retainer ring [A] from the wing [B] (see THROTTLE CABLE REMOVAL, step 9).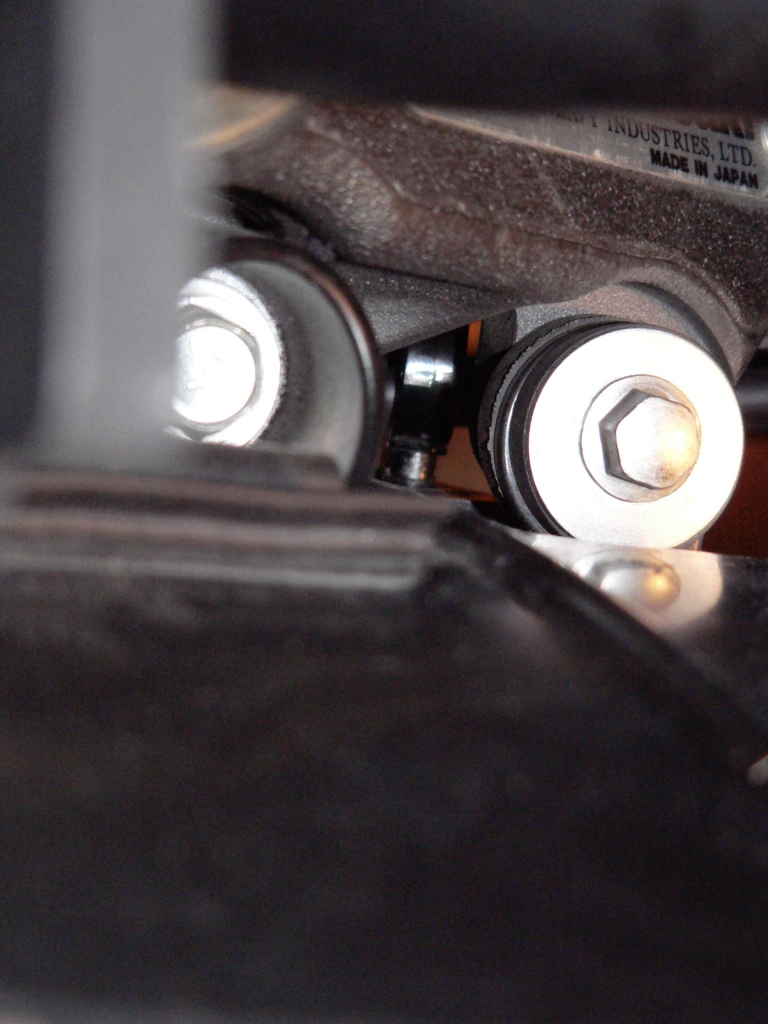
The retainer ring can be seen from the right side of the bike located behind and between the two large bolts where the radiator and engine mount to the frame.
3. Remove the bolts [F] from the engine compartment wall [C] and the bracket [D]. Use an 8 mm socket with a 3” extension. 
View of heat shield wing bracket from inside of the engine compartment.
4. Remove the quick rivets [E] using a straight slot screw driver to pry up the center button on the front of the wings. Remove the plastic engine compartment wall [C] from the engine compartment.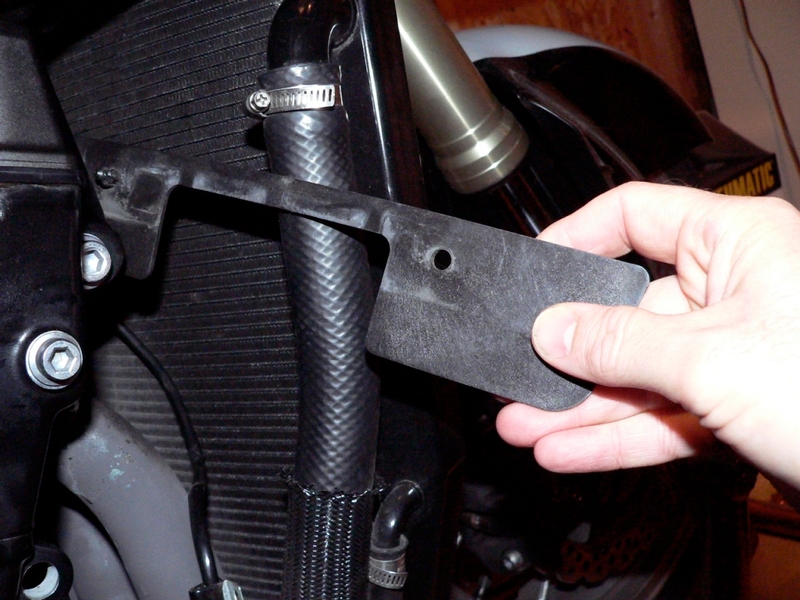
The metal bracket may also be removed by taking out the front screw of each reed valve cap. Reinstall the screws after the bracket is removed (see PAIR REMOVAL, step 5).
5. Remove the foam stripping from the edges of the left side of the heat shield wing.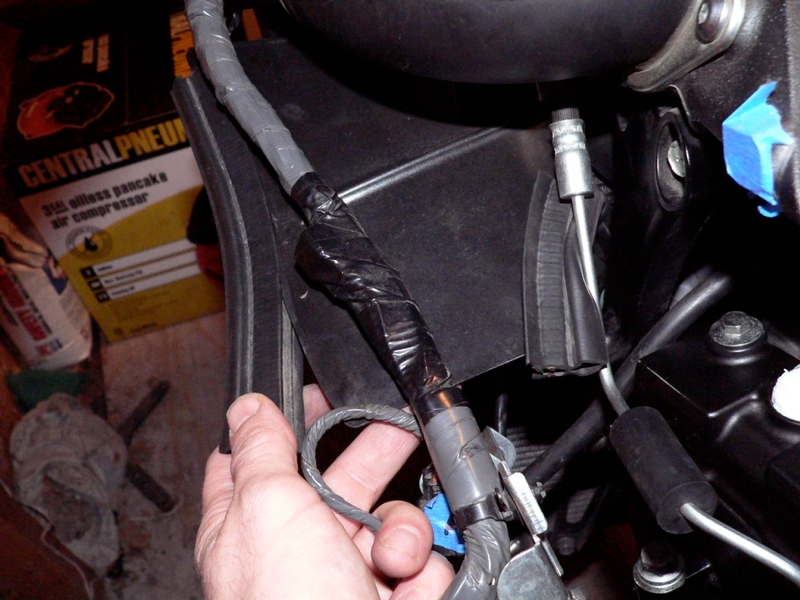
6. Disconnect the radiator overflow tube from the radiator filler neck (See WATER HOSE REMOVAL, Small Hoses). 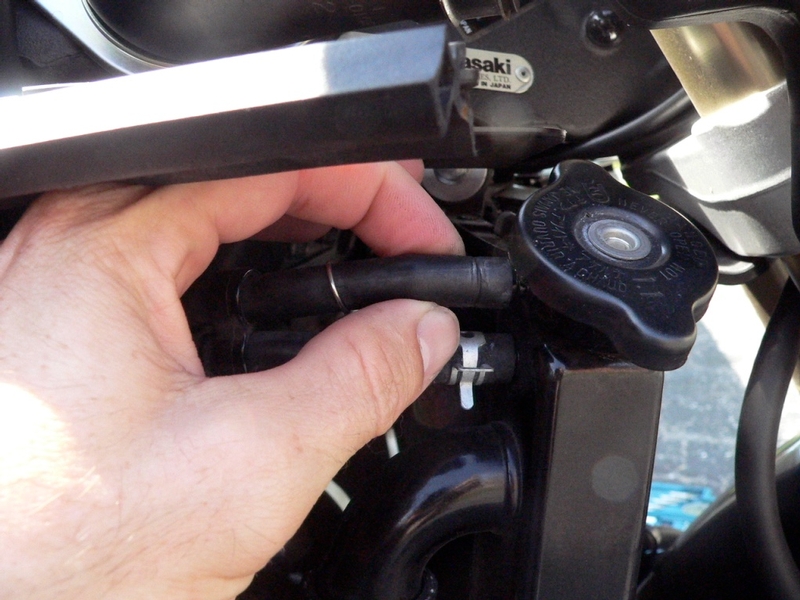
7. Carefully pull the heat shield wing from the radiator compartment. Be careful to not damage the radiator fins (remove the radiator if necessary). You will need to flex the large flat surface of the left wing to get it to pass between the radiator and the head pipes.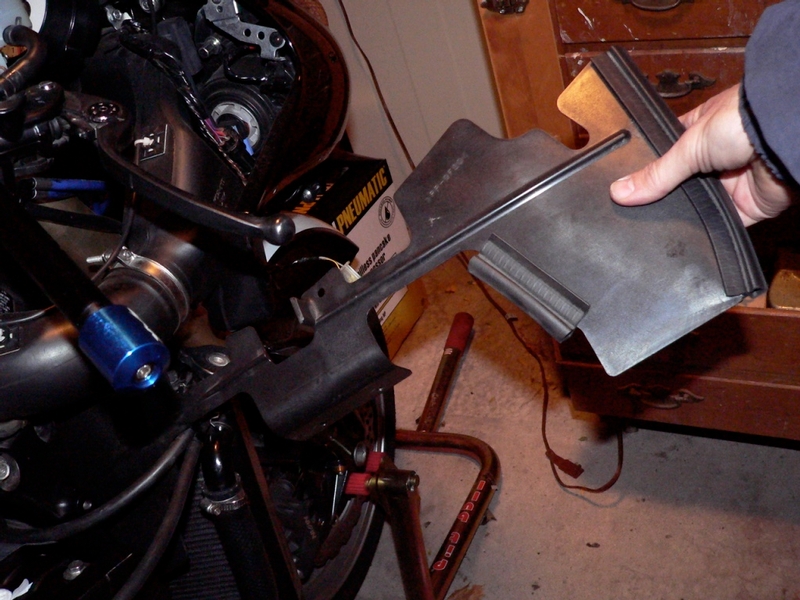

8. Reconnect the radiator overflow tube to the radiator.
9. Reinstall the right side fairing bracket with foam pad (step 1 reverse).
Weight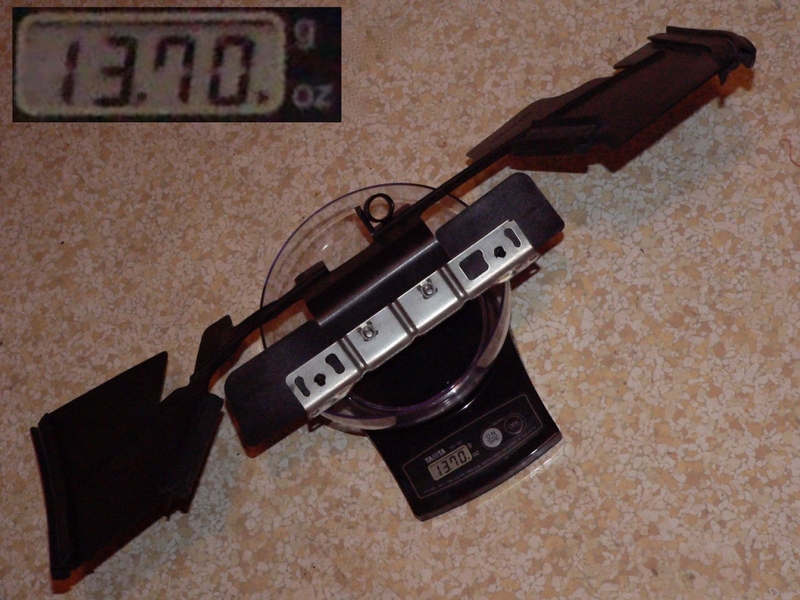
Removing the heat insulator wings removes nearly a pound of weight from the bike.
* Last updated by: Rook on 1/7/2018 @ 8:36 AM *